

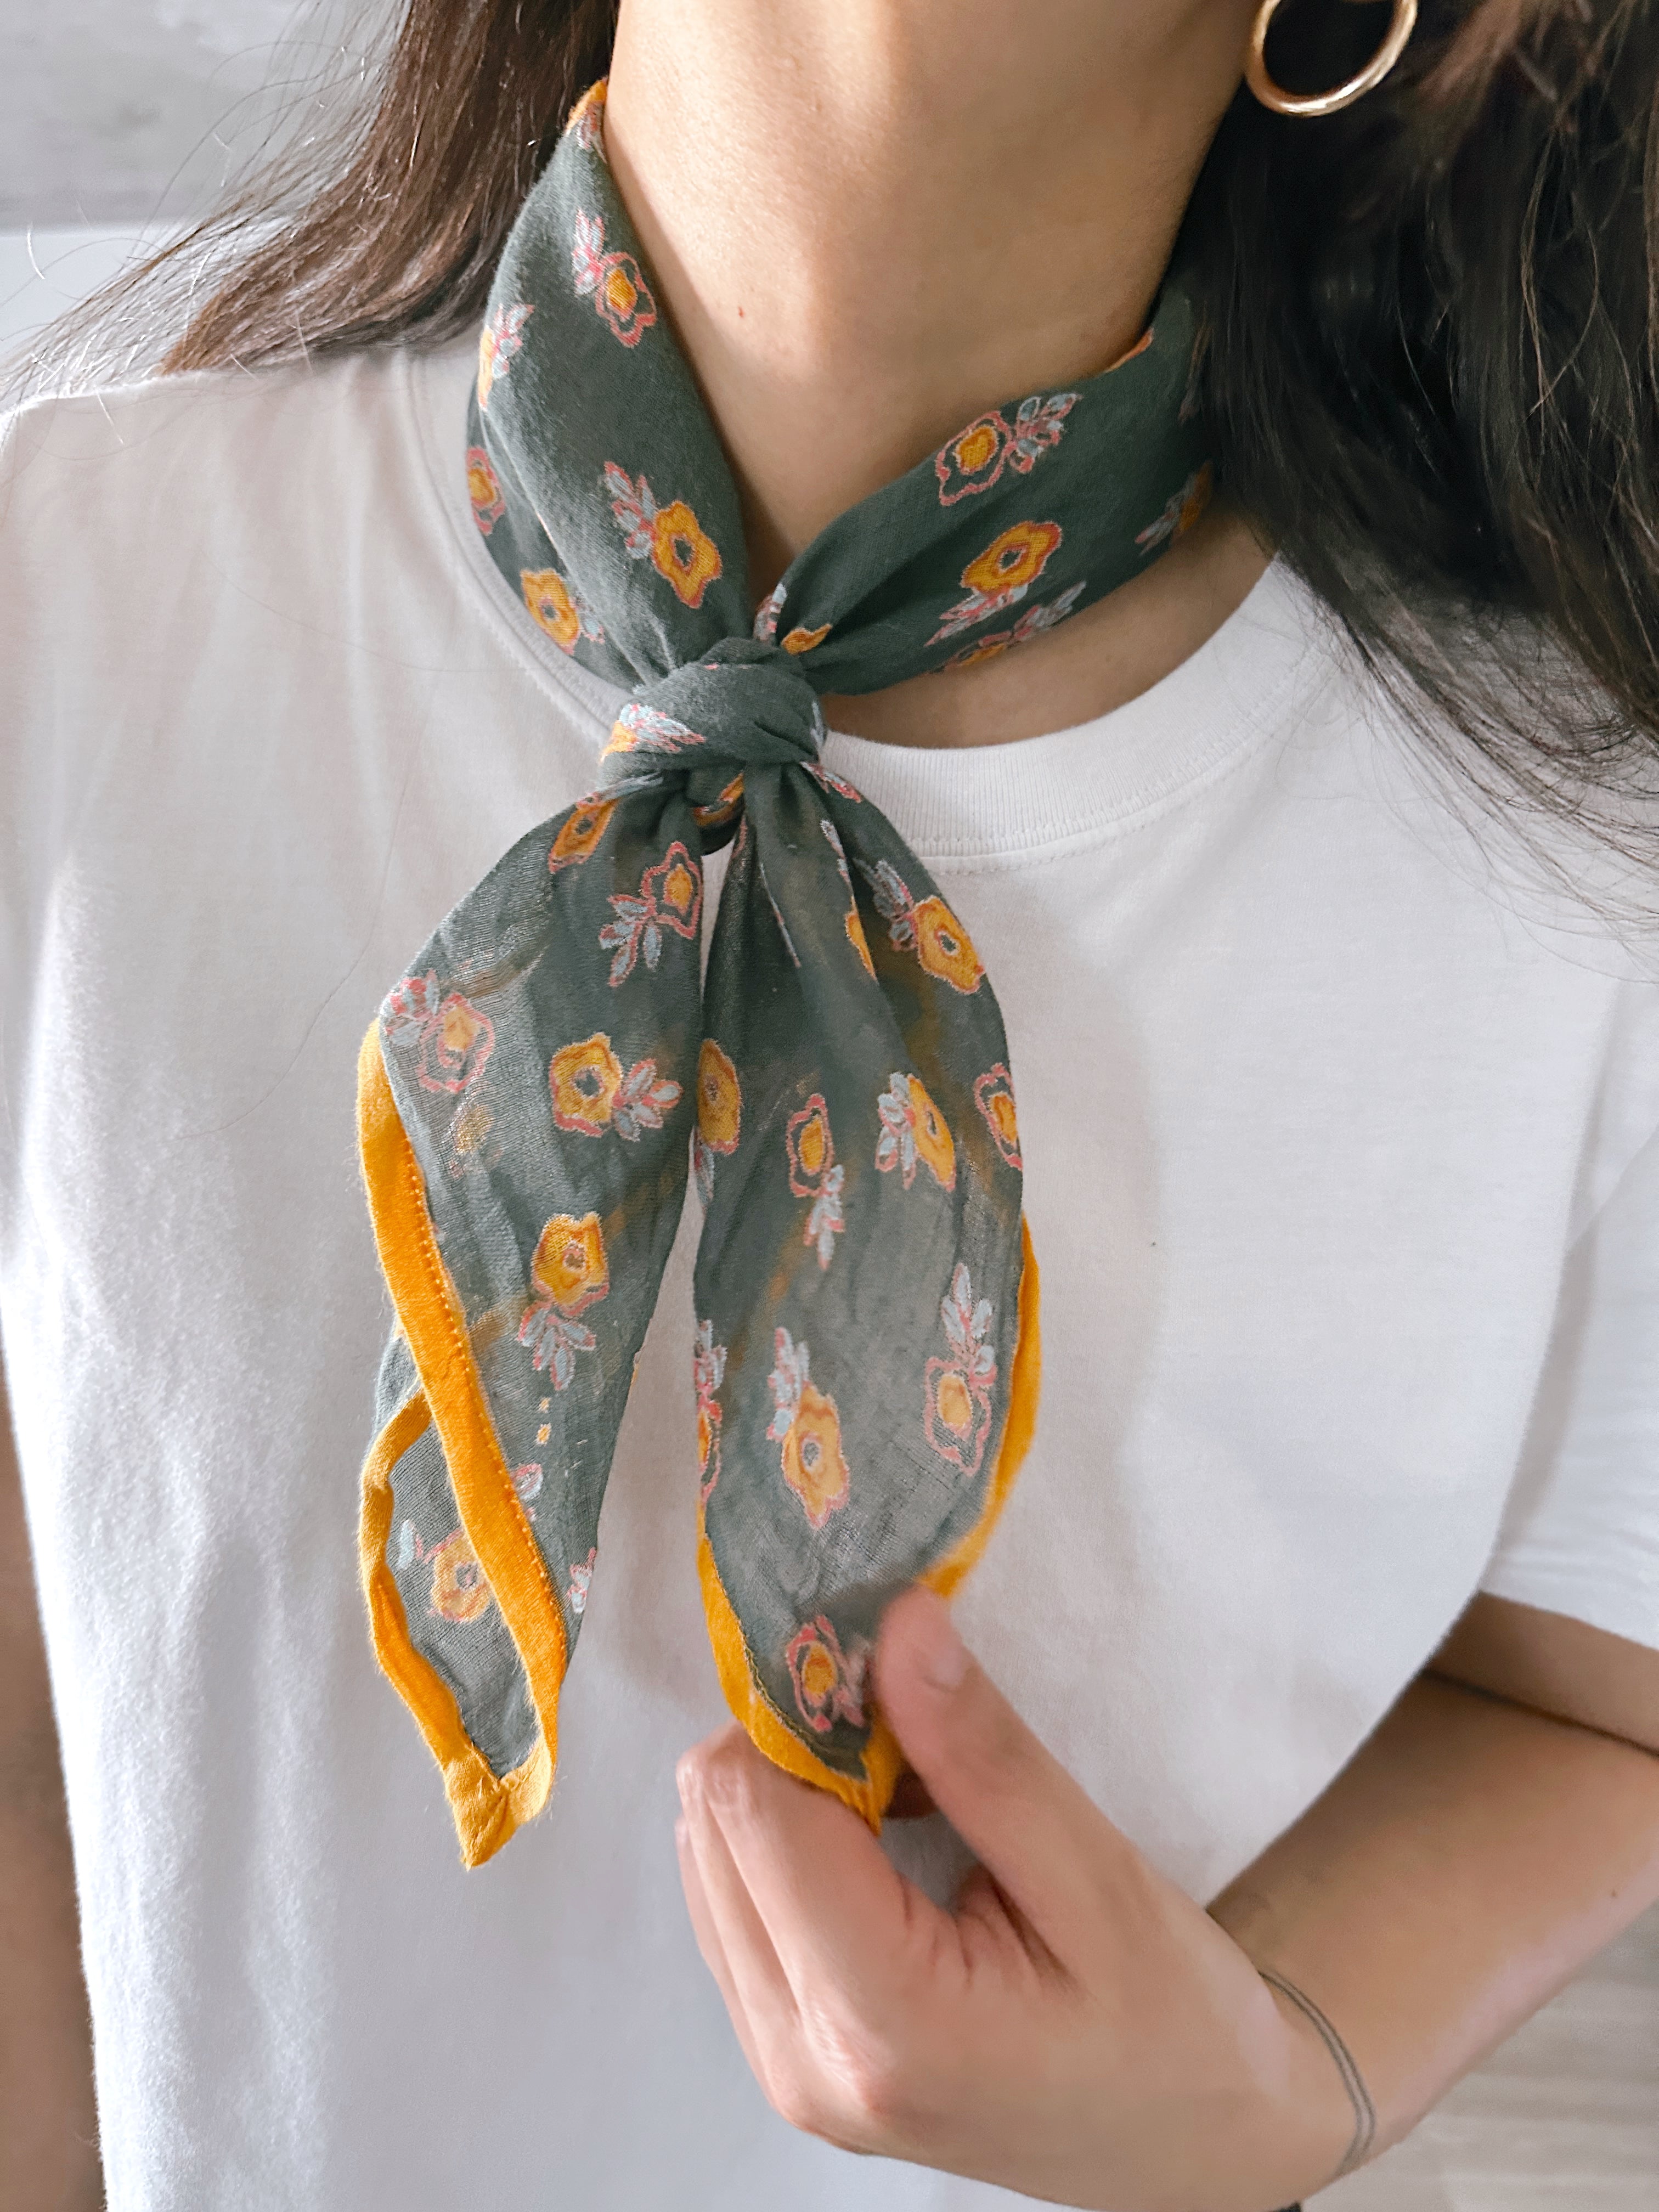
Planning on gifting a bandana this holiday season? You'll want to share this with them as well. Below is our step by step, super easy, how to tie a bandana tutorial.
Step 1:
Lay your bandana flat with the back side (care label side) facing up.

Step 2:
Grab two corners and fold into the middle.

Step 3:
Starting from one of the folded sides, start rolling until you get to the other side.

Step 4:
Once you've rolled your bandana, place it around your neck. Make sure one end is longer than the other.

Step 5:
Take the longer end and pull it over the shorter end.

Step 6:
Then with the longer end, go under the shorter end.

FYI: As you go under the shorter end, make sure you leave an opening in the middle

Step 7:
Pull the longer end through the middle opening

Step 8:
Pull, tighten and fluff


And, you're done. You now have a perfectly tied bandana, giving off that effortless, "just threw this on" look.

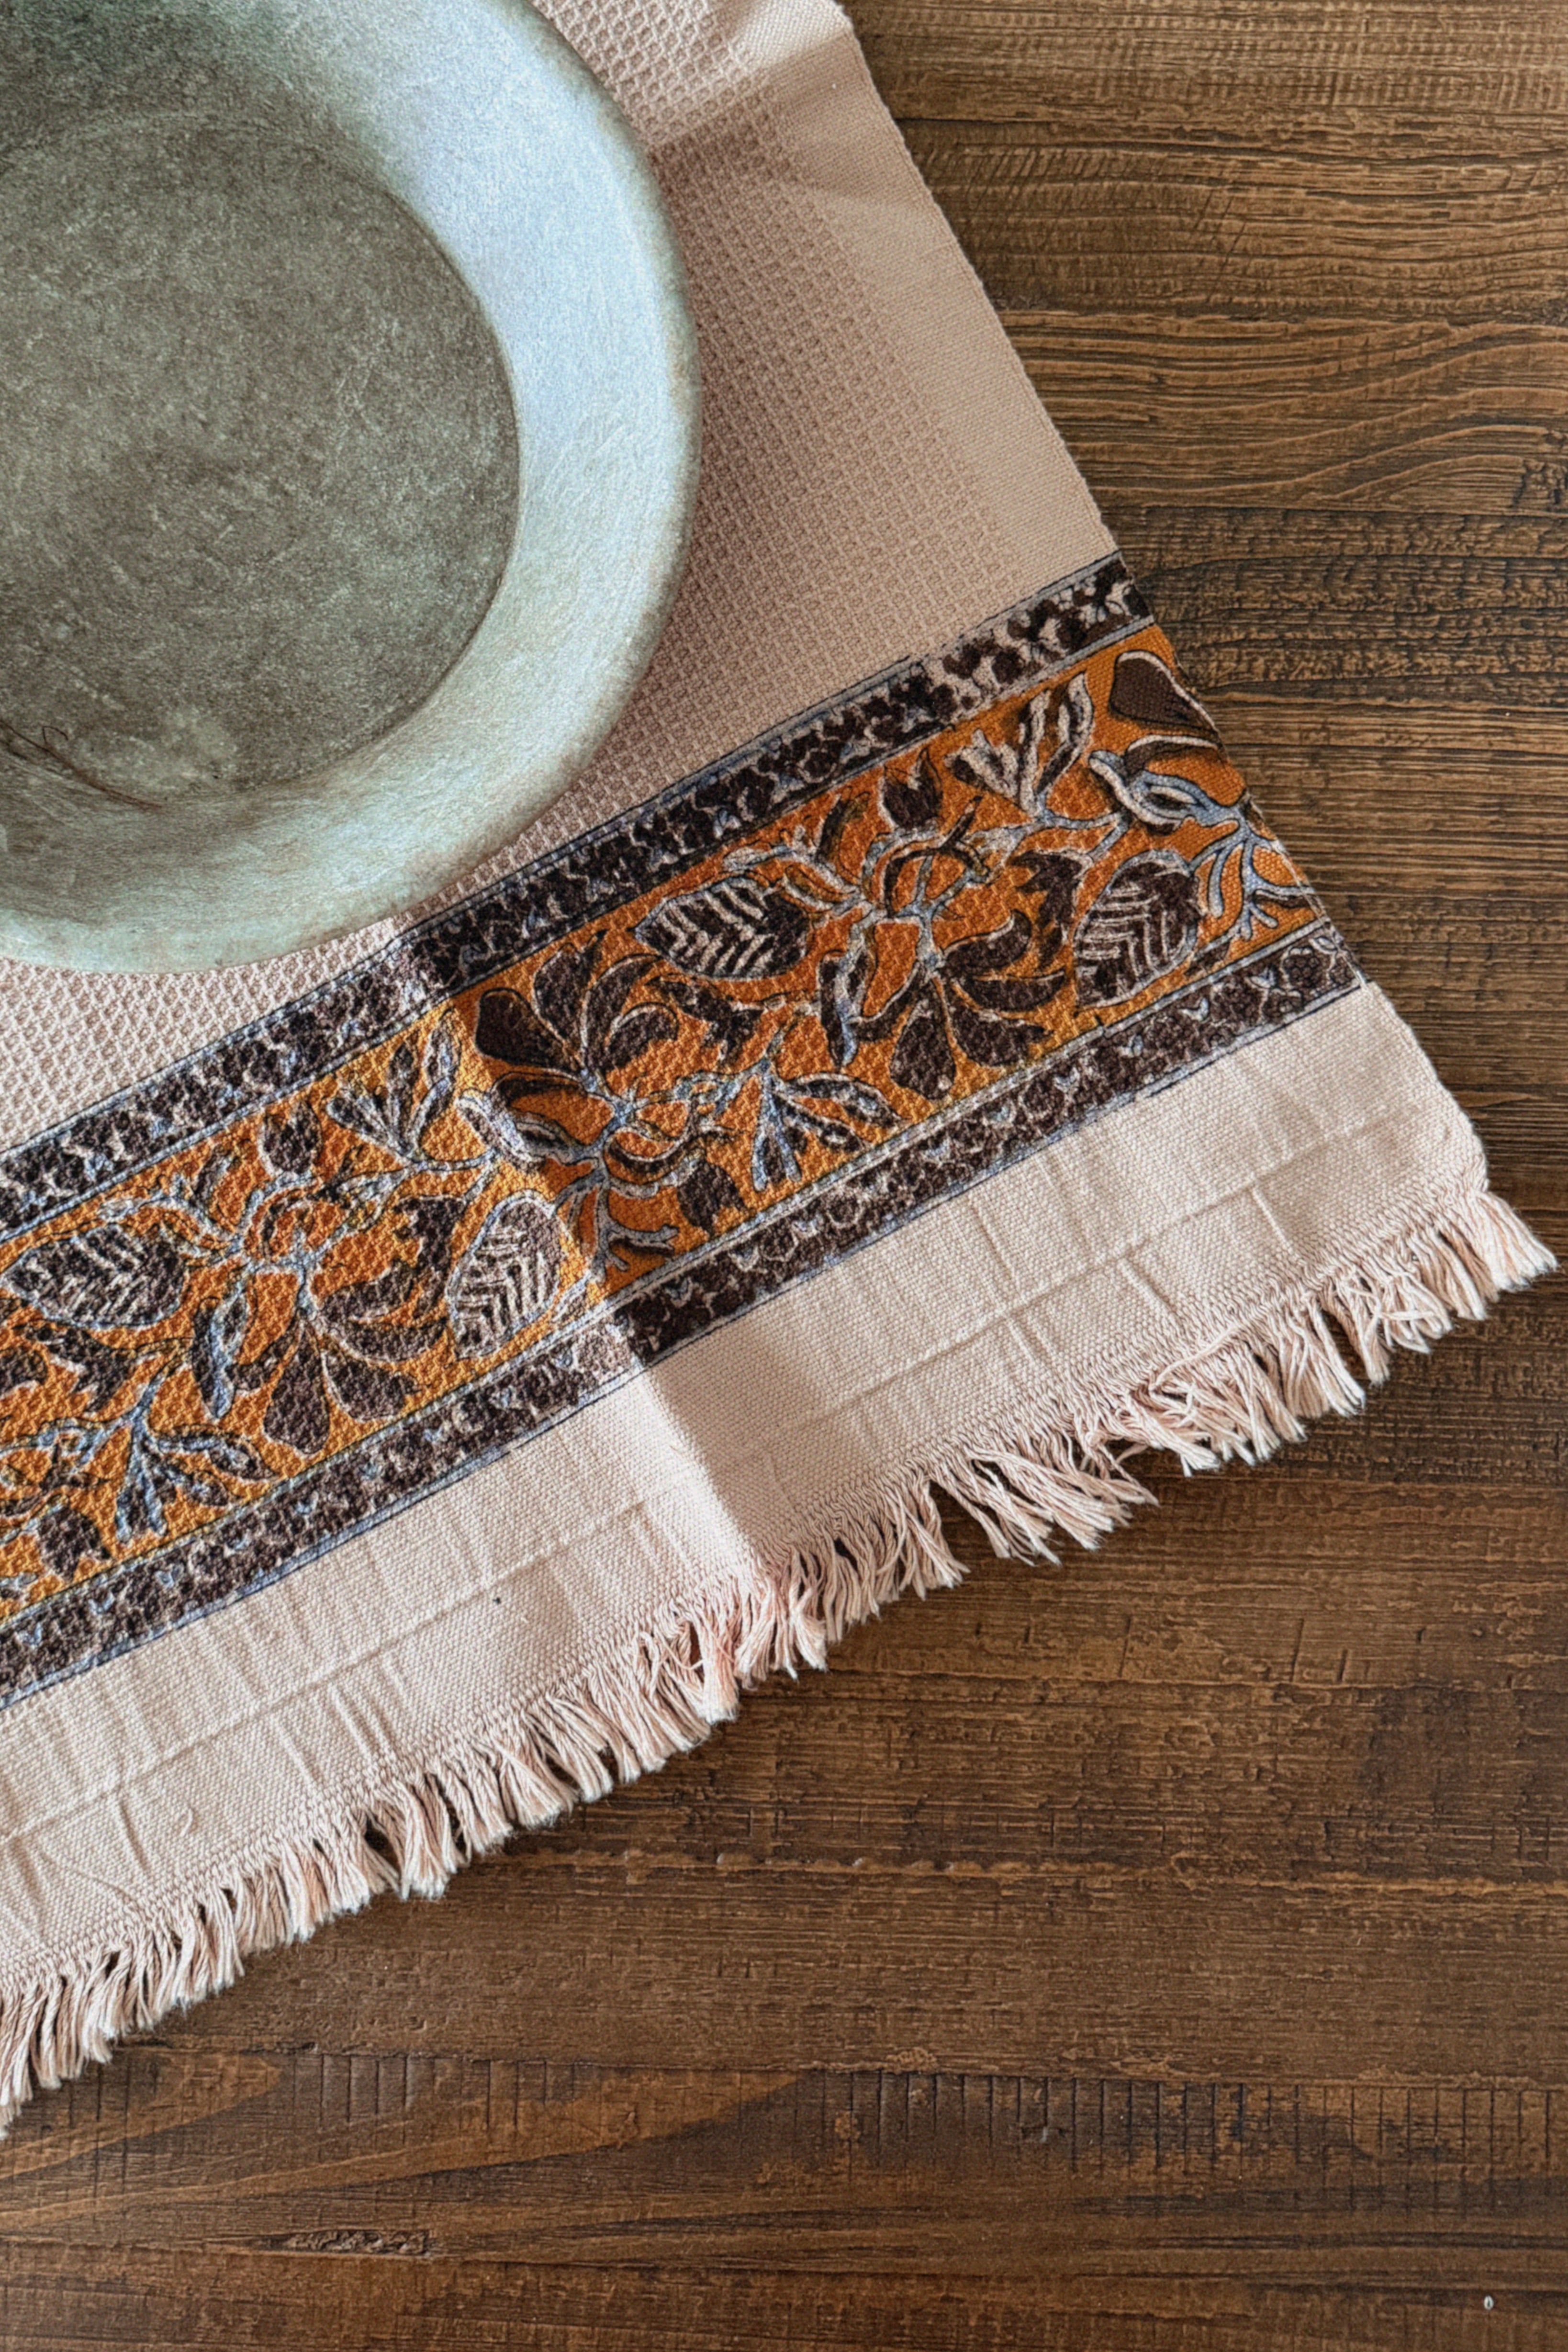
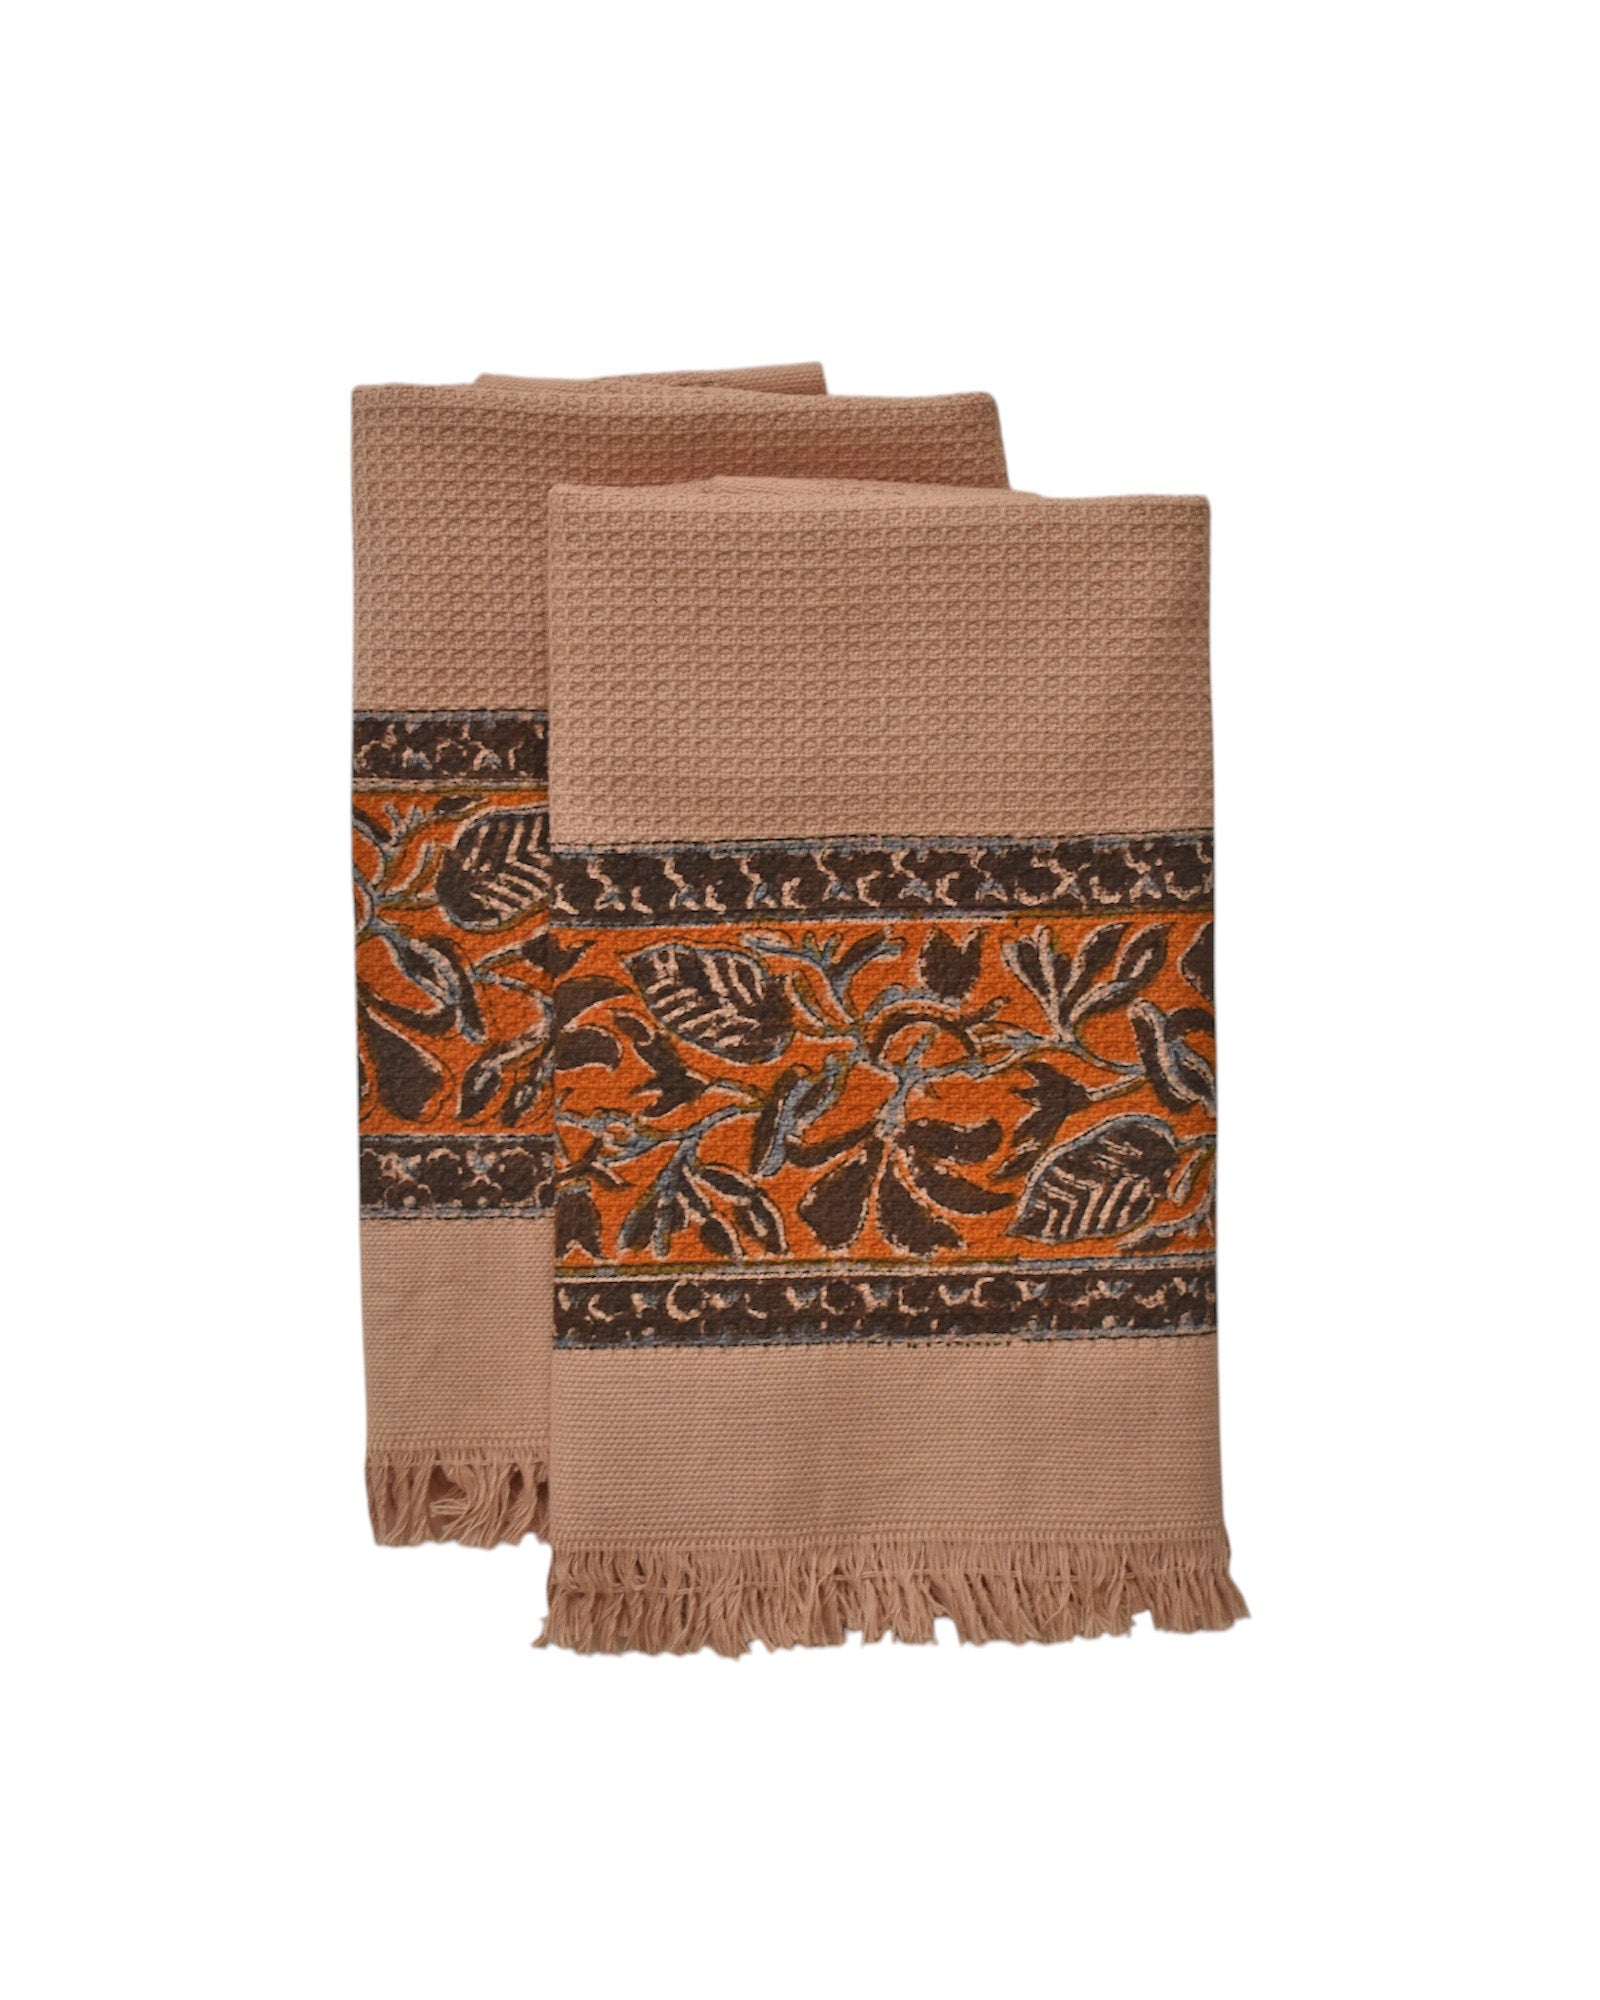
Recreate this look with our current collection of cotton and wool bandanas. Shop here.
Leave a comment